How to Trim, Cut, and Fade Audio Files Online (MP3 & WAV)
Cut unwanted sections, trim ringtones, apply smooth fade-ins and fade-outs, and export lossless audio directly in your browser.
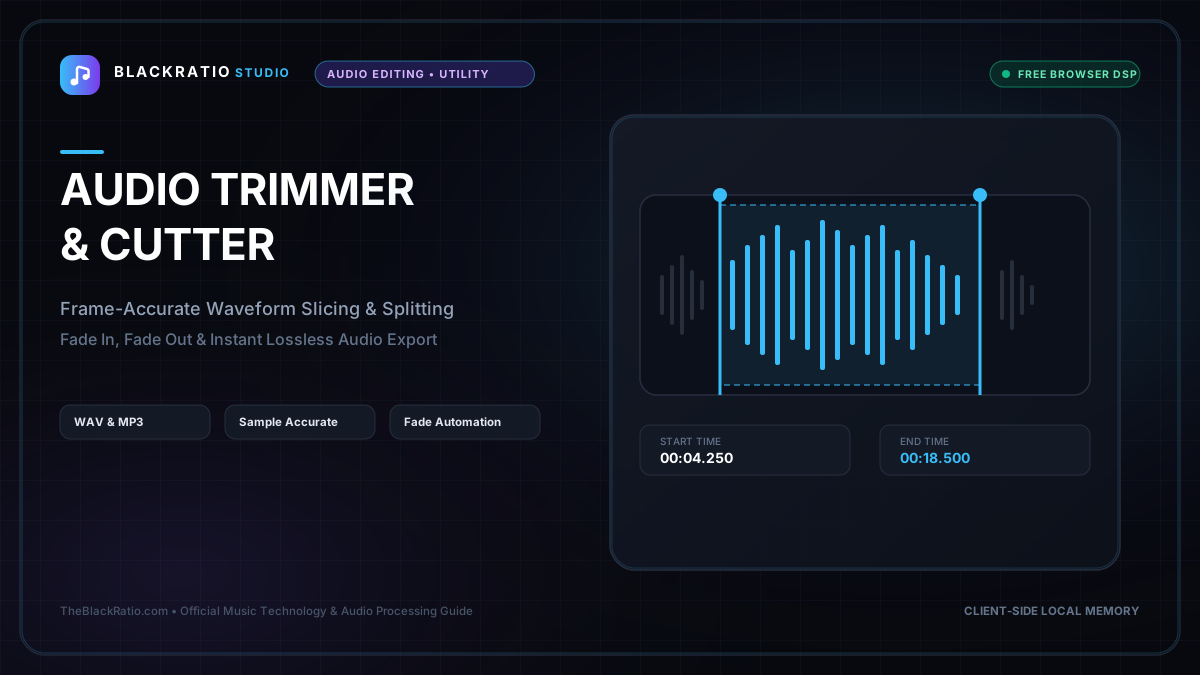
The Audio Trimmer provides high-precision waveform editing for cutting, trimming, and applying smooth fades to MP3 and WAV audio files. Running entirely in browser memory, it processes edits instantly with sample-accurate markers and zero lossy re-encoding quality loss.
Quick Start Guide
- Open Audio Trimmer at
/tools/audio-trimmer. - Upload an audio file (MP3, WAV, AAC, OGG, or FLAC).
- Drag the start and end marker handles on the interactive waveform.
- Audition your trimmed selection with optional Fade In and Fade Out.
- Export the trimmed segment in lossless WAV or compressed MP3 format.
Before You Begin
- Supported Inputs: Audio files (MP3, WAV, AAC, M4A, OGG, FLAC up to 100MB).
- System Requirements: Modern desktop or mobile browser with audio decoding support.
- Important Practical Considerations: Trimming audio in BlackRatio Studio executes 100% locally in your browser memory via the Web Audio API. Your personal audio recordings, private voice notes, and music stems are never uploaded to any remote server.
Step-by-Step Instructions
Step 1: Open Browser Audio Trimmer Workspace
Open the Audio Trimmer tool. The interface features a zoomable interactive waveform canvas, draggable start/end boundary handles, and precision millisecond timecode inputs.
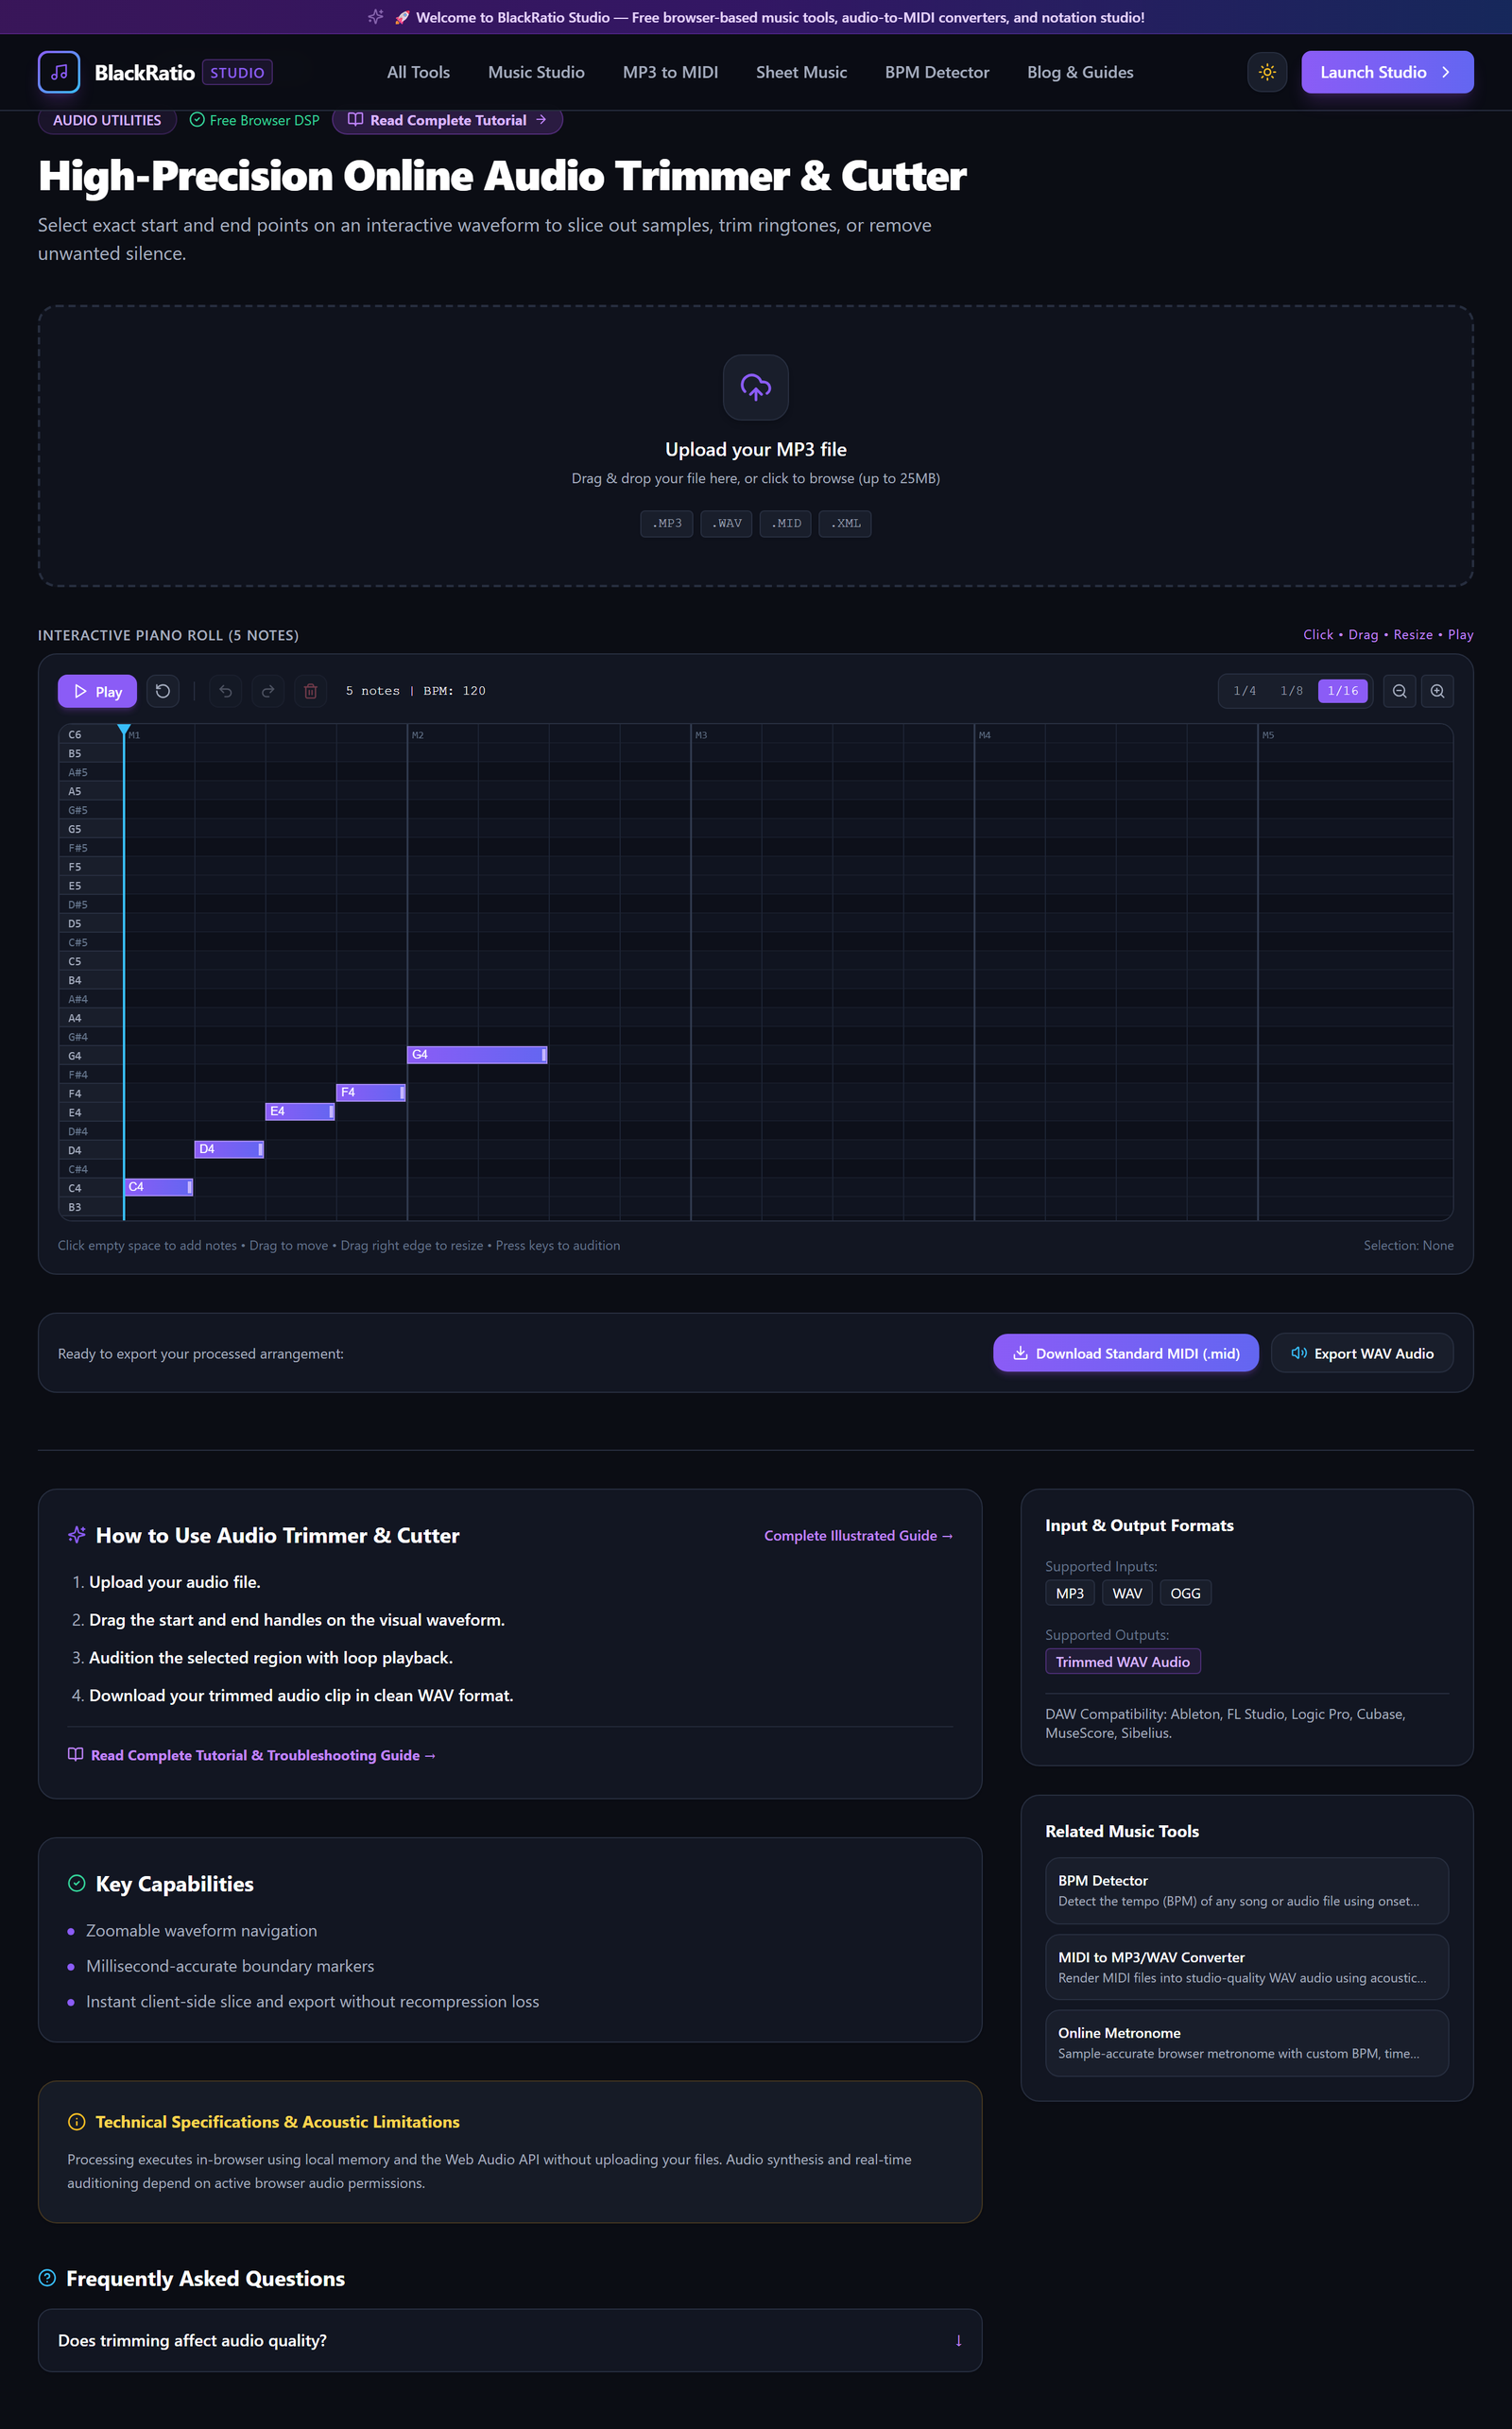
Figure 1: Open Browser Audio Trimmer Workspace in the Audio Trimmer & Cutter workspace.
- Primary Control:
Tool Navigation Bar / Launch Audio Trimmer Workspace - Expected Visible Result: The workspace loads with an audio file dropzone and timeline ruler.
- Musician's Pro-Tip: Use keyboard shortcut Spacebar to start and pause audio playback while adjusting selection boundaries.
Step 2: Upload Source Audio File
Drop your audio recording into the upload container. The browser decodes the audio stream into raw PCM audio buffers and renders a high-definition waveform profile.
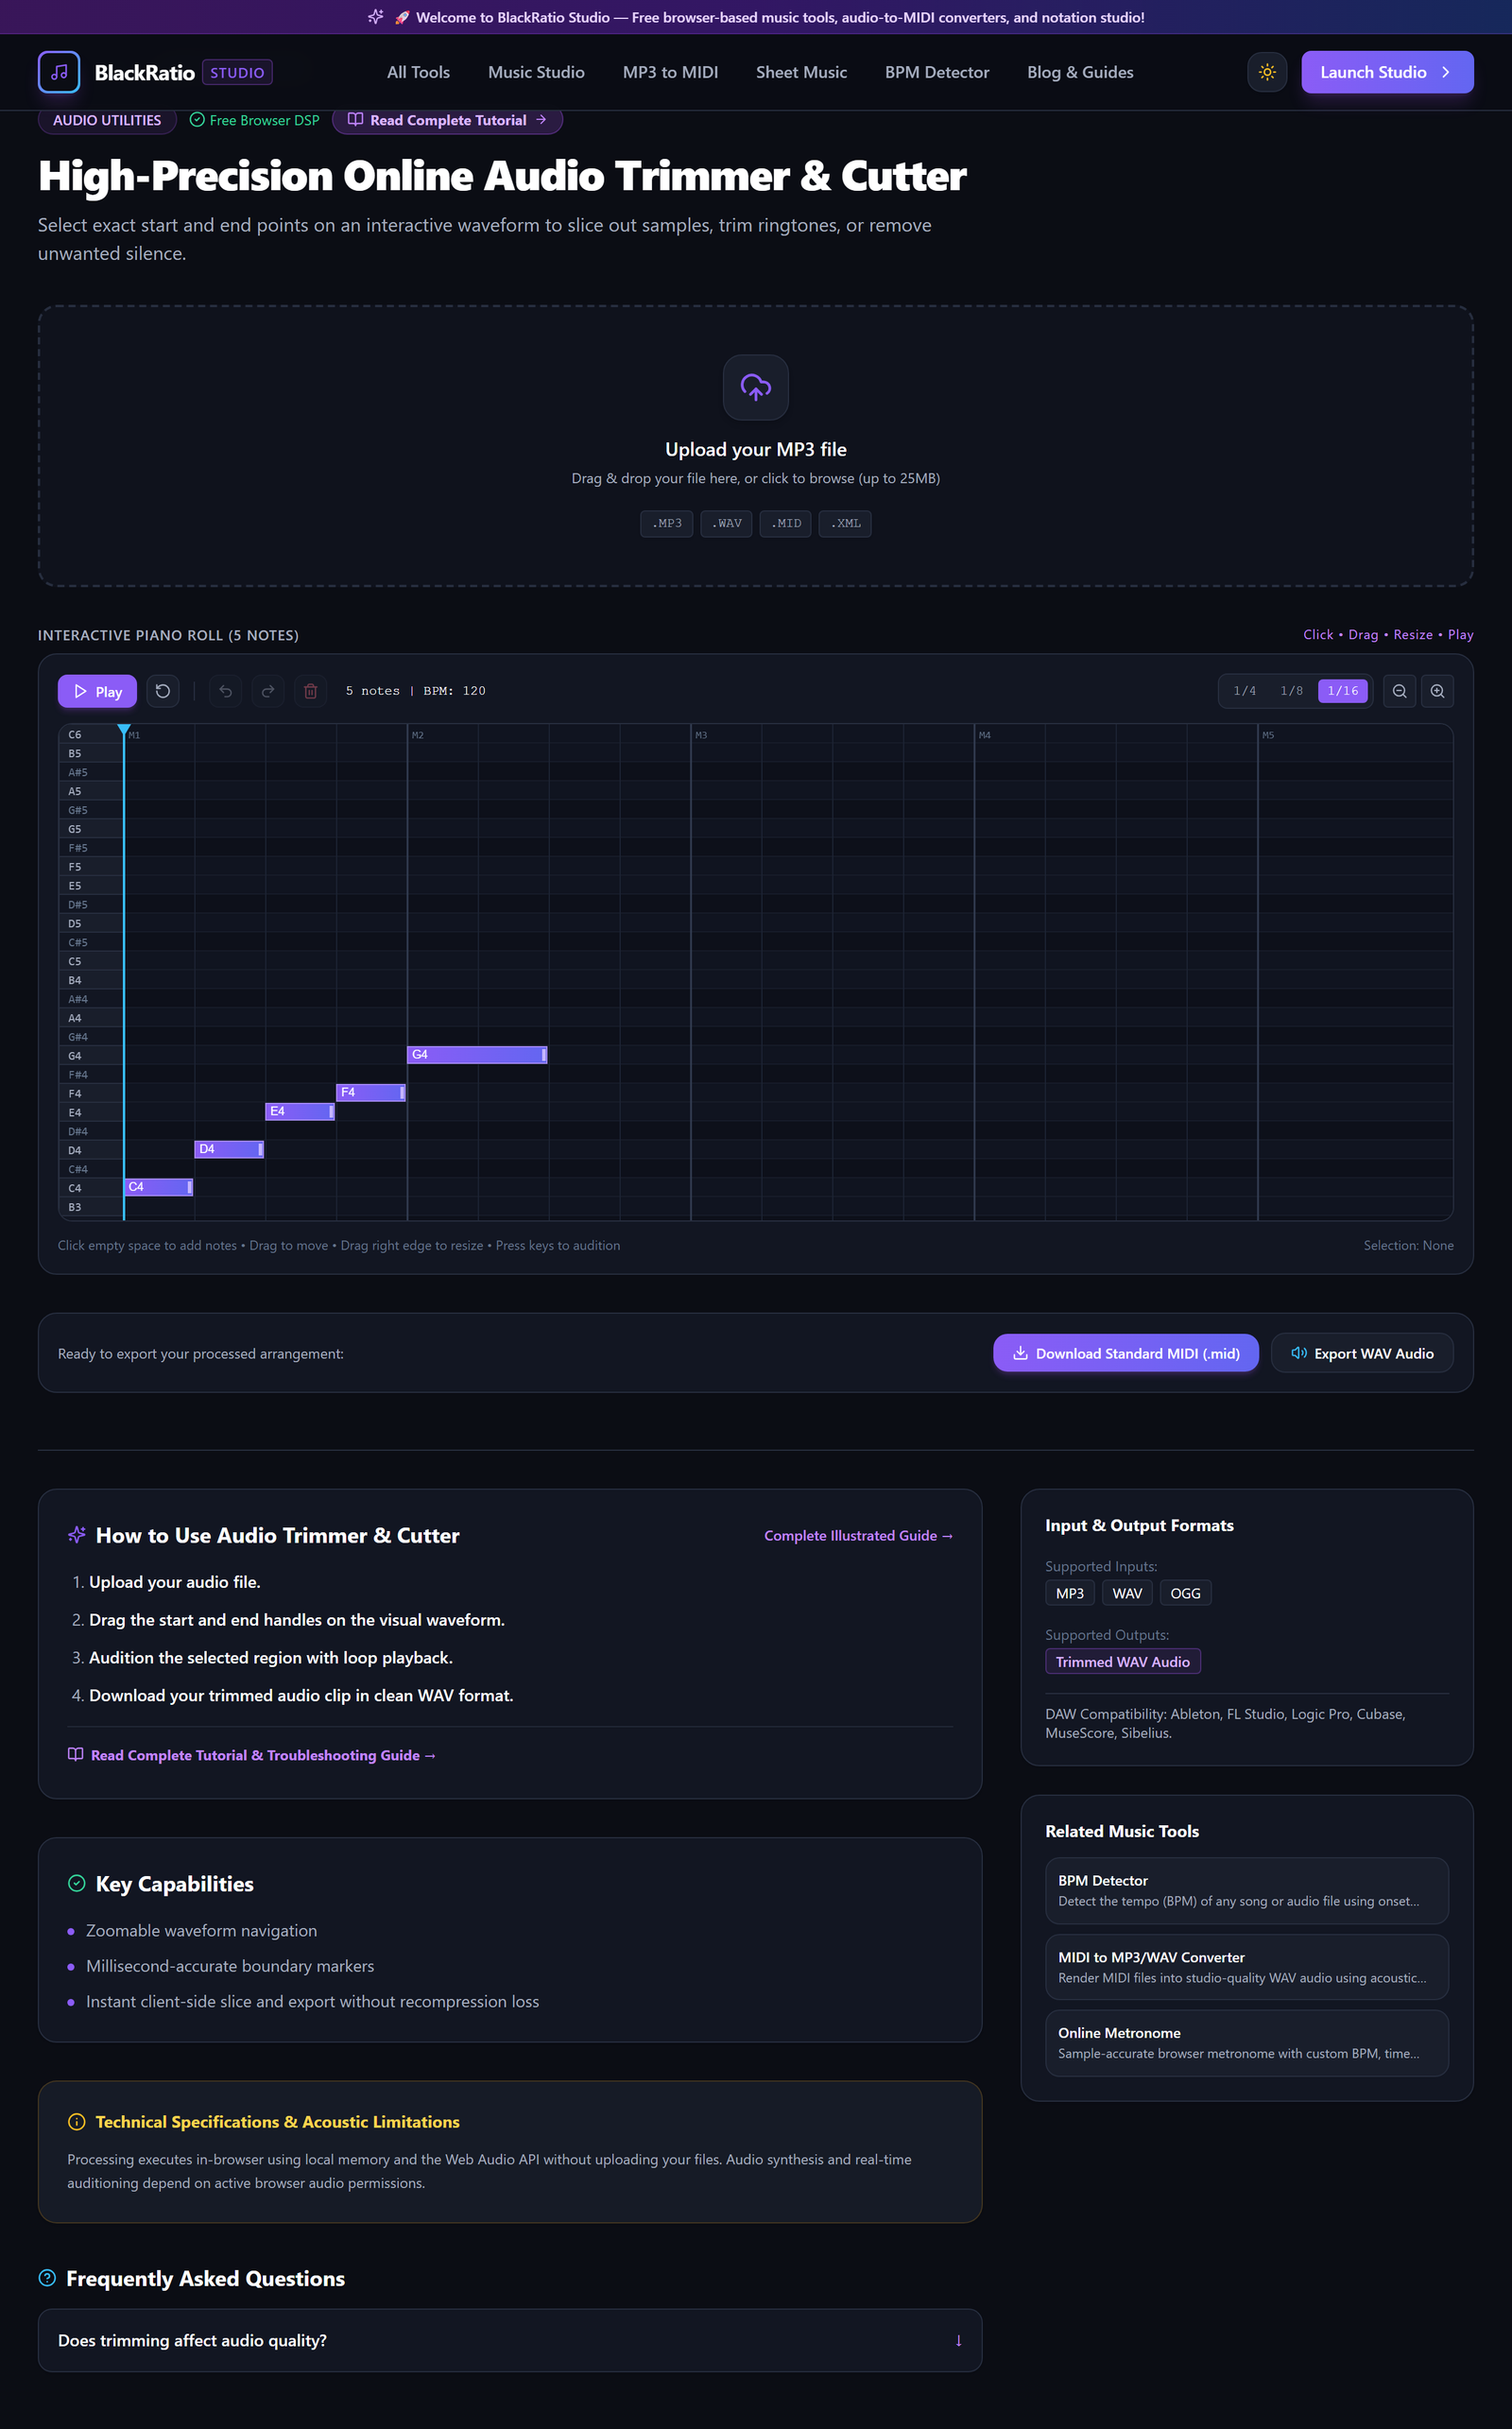
Figure 2: Upload Source Audio File in the Audio Trimmer & Cutter workspace.
- Primary Control:
Audio File Upload Dropzone (.mp3, .wav) - Expected Visible Result: The full waveform displays across the canvas with total duration, sample rate, and channel count indicated.
- Musician's Pro-Tip: For long podcasts or voice recordings, use the horizontal zoom slider to inspect specific speech pauses or quiet intervals.
Step 3: Set Start and End Timestamp Markers
Drag the left green handle to set your Start point, and the right red handle to set your End point. For exact precision, type millisecond timestamps directly into the Start Time and End Time input boxes.
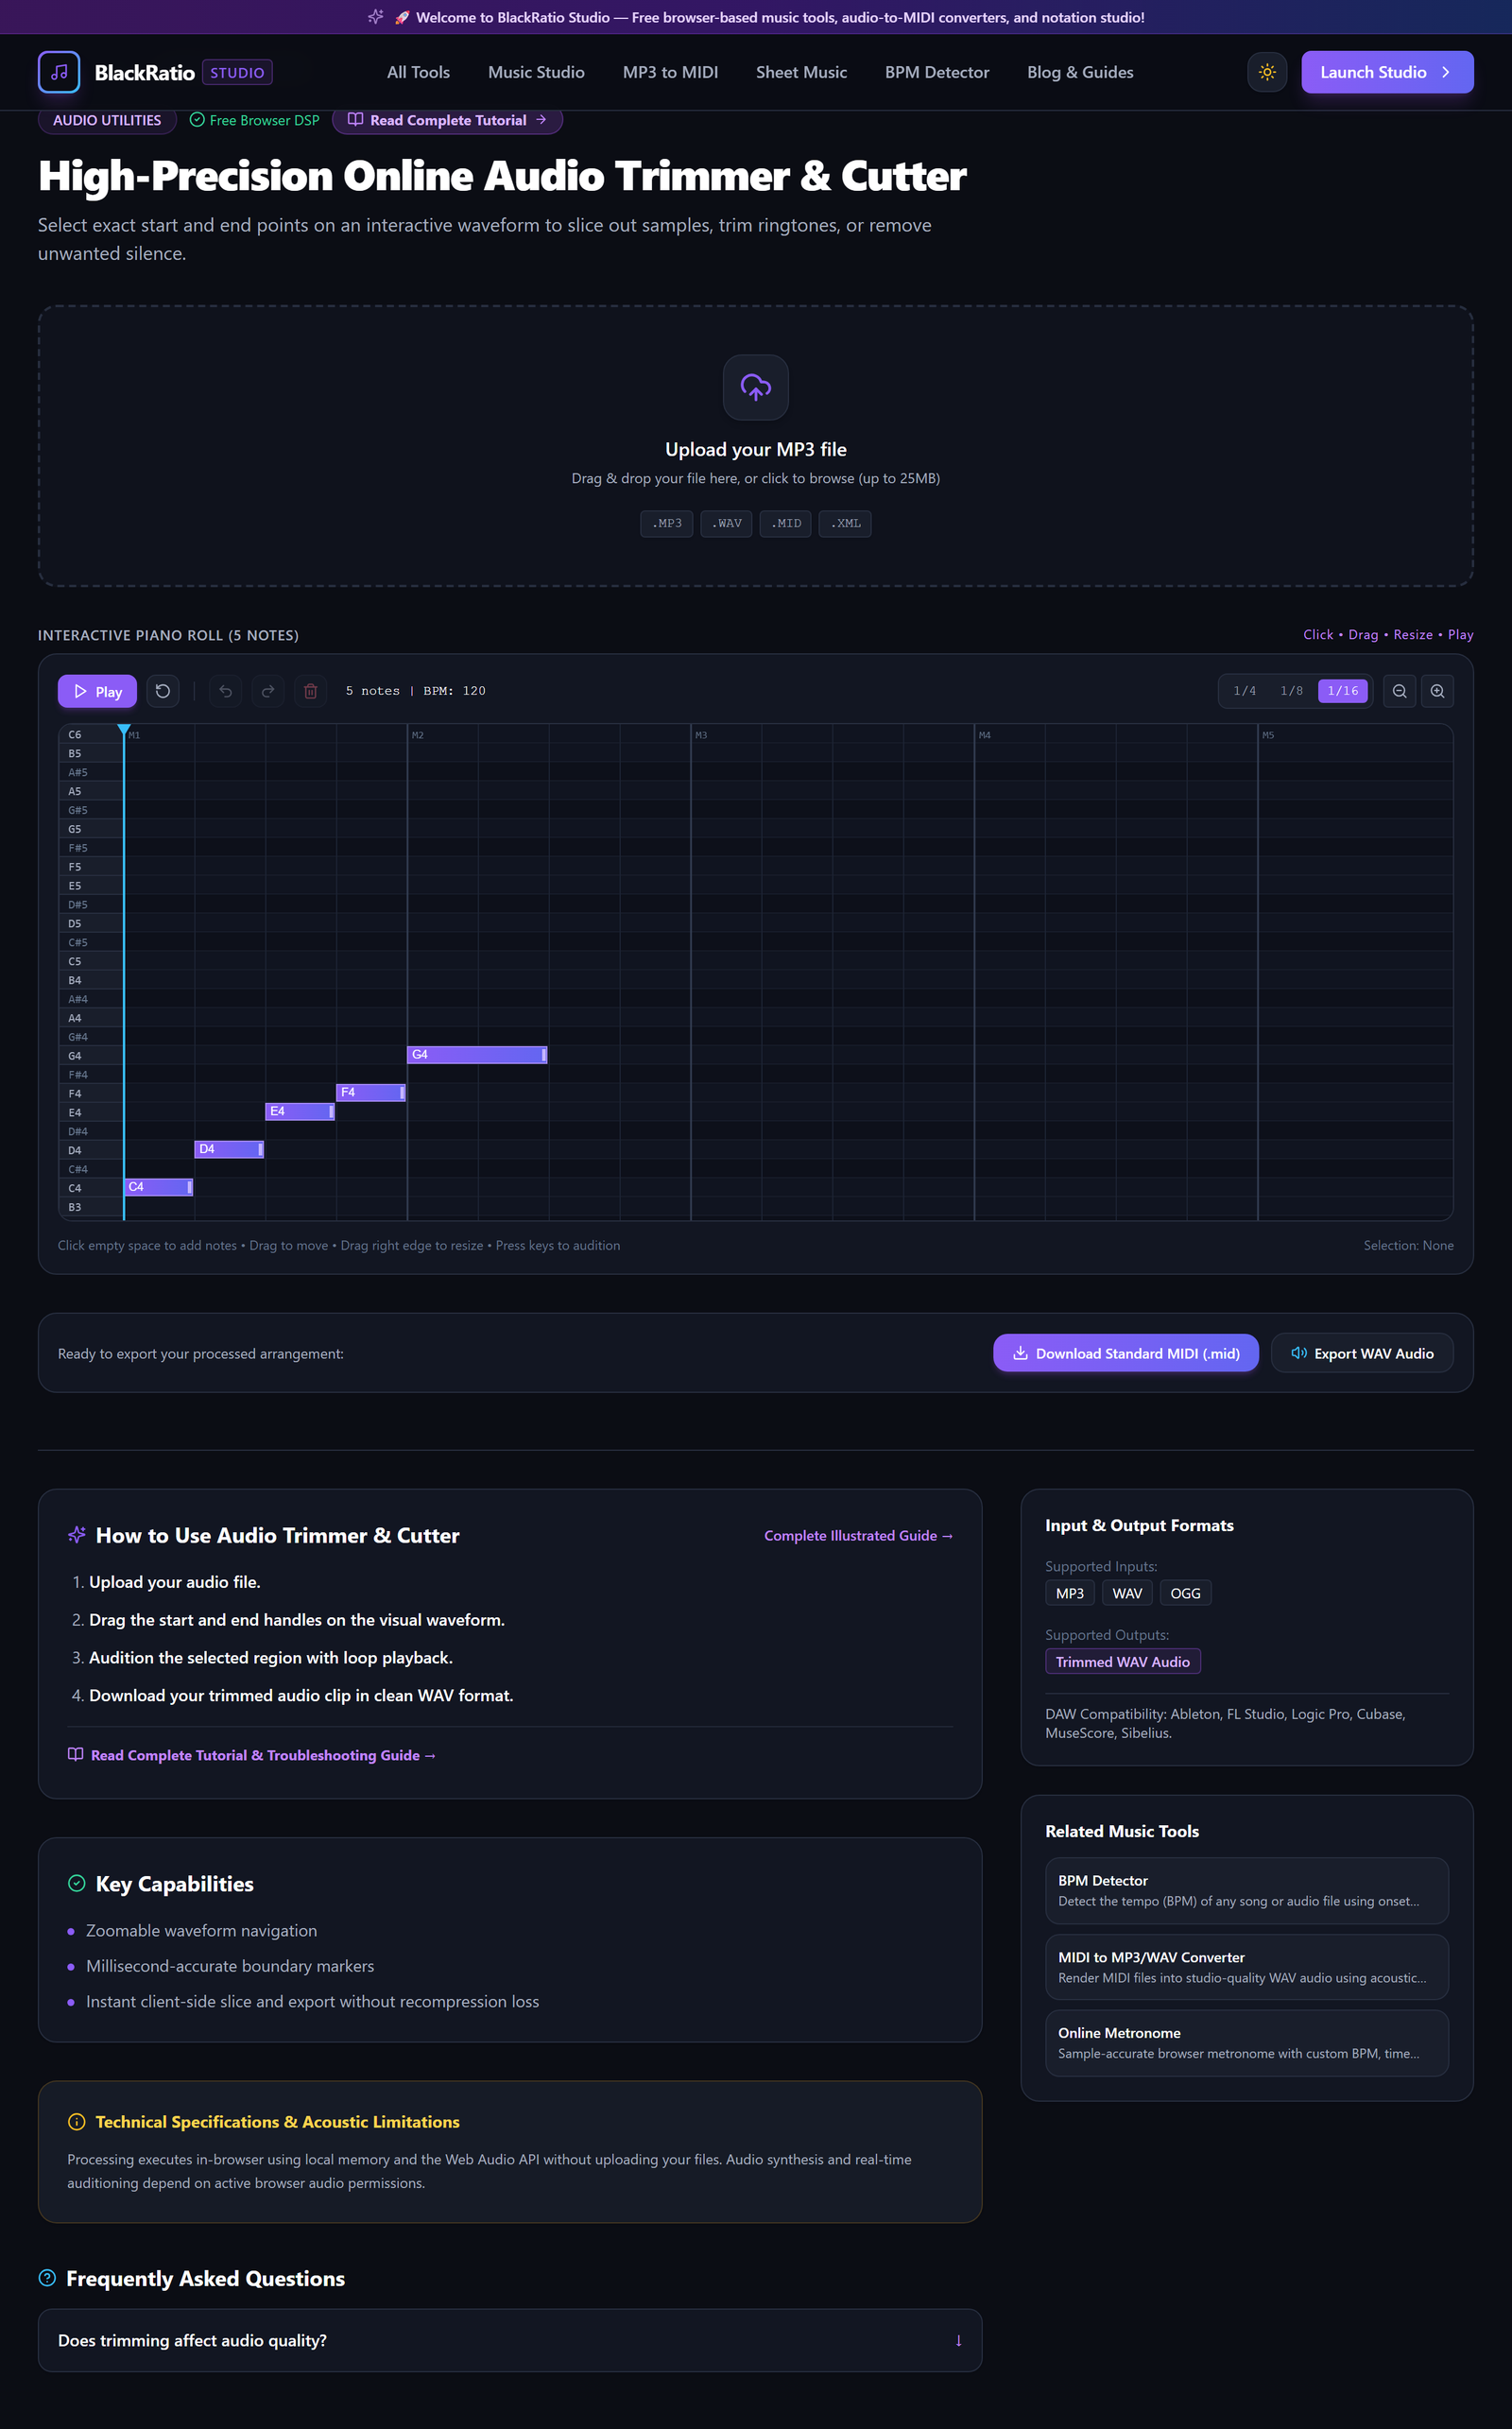
Figure 3: Set Start and End Timestamp Markers in the Audio Trimmer & Cutter workspace.
- Primary Control:
Waveform Region Boundary Handles (Trim Start / Trim End) - Expected Visible Result: The selected region highlights in purple on the waveform, with the trimmed duration displayed (e.g. "Selected: 0:28.450").
- Musician's Pro-Tip: Place cut points at zero-crossing points (where the waveform crosses the center horizontal line) to prevent audible clicks or pops.
Step 4: Audition Audio Selection Preview
Click the "Play Selection" button to listen exclusively to the highlighted region. Enable "Fade In" (e.g. 1.5 seconds) and "Fade Out" (2.0 seconds) to create smooth, professional volume transitions.
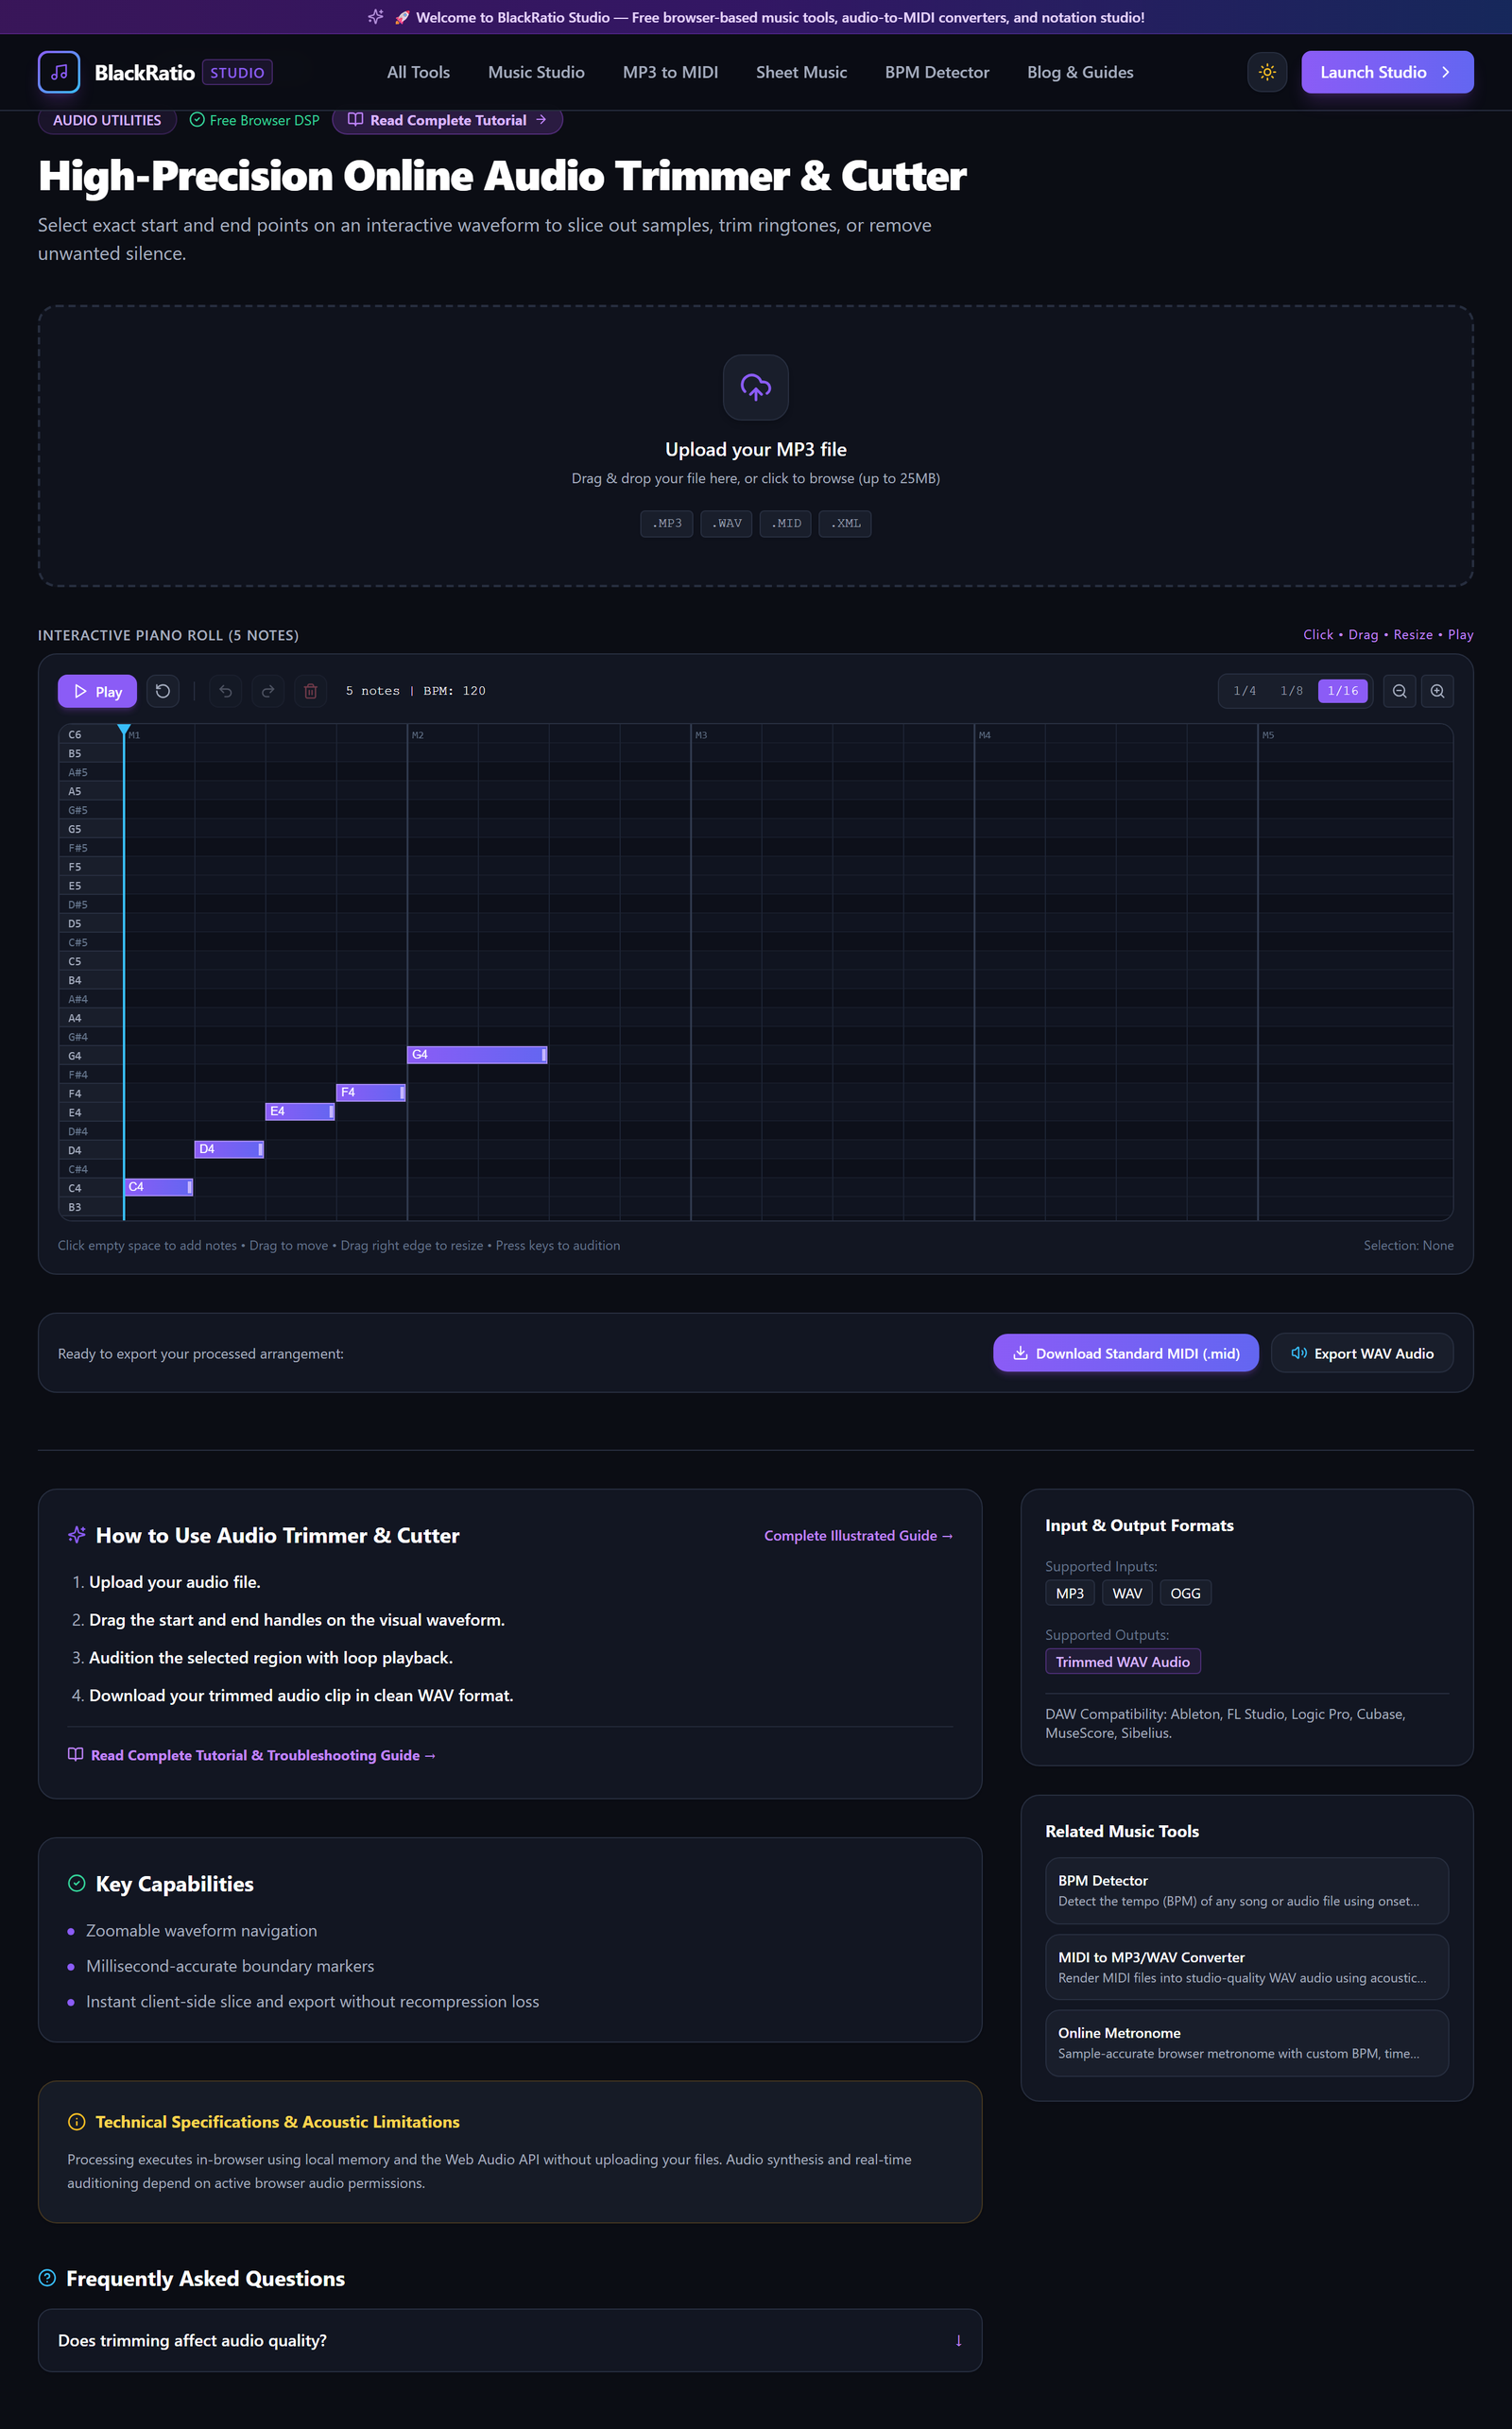
Figure 4: Audition Audio Selection Preview in the Audio Trimmer & Cutter workspace.
- Primary Control:
Fade In & Fade Out Duration Sliders - Expected Visible Result: The audio playhead loops across the selected region, demonstrating the smooth volume fades.
- Musician's Pro-Tip: Use a short 0.2-second fade-in on dialogue cuts to completely eliminate breath gasps and microphone plosives at the start.
Step 5: Export Lossless Trimmed Audio
Select your export format: WAV for pristine uncompressed studio quality, or MP3 for compact storage and ringtones. Click "Export Trimmed Audio" to save the file.
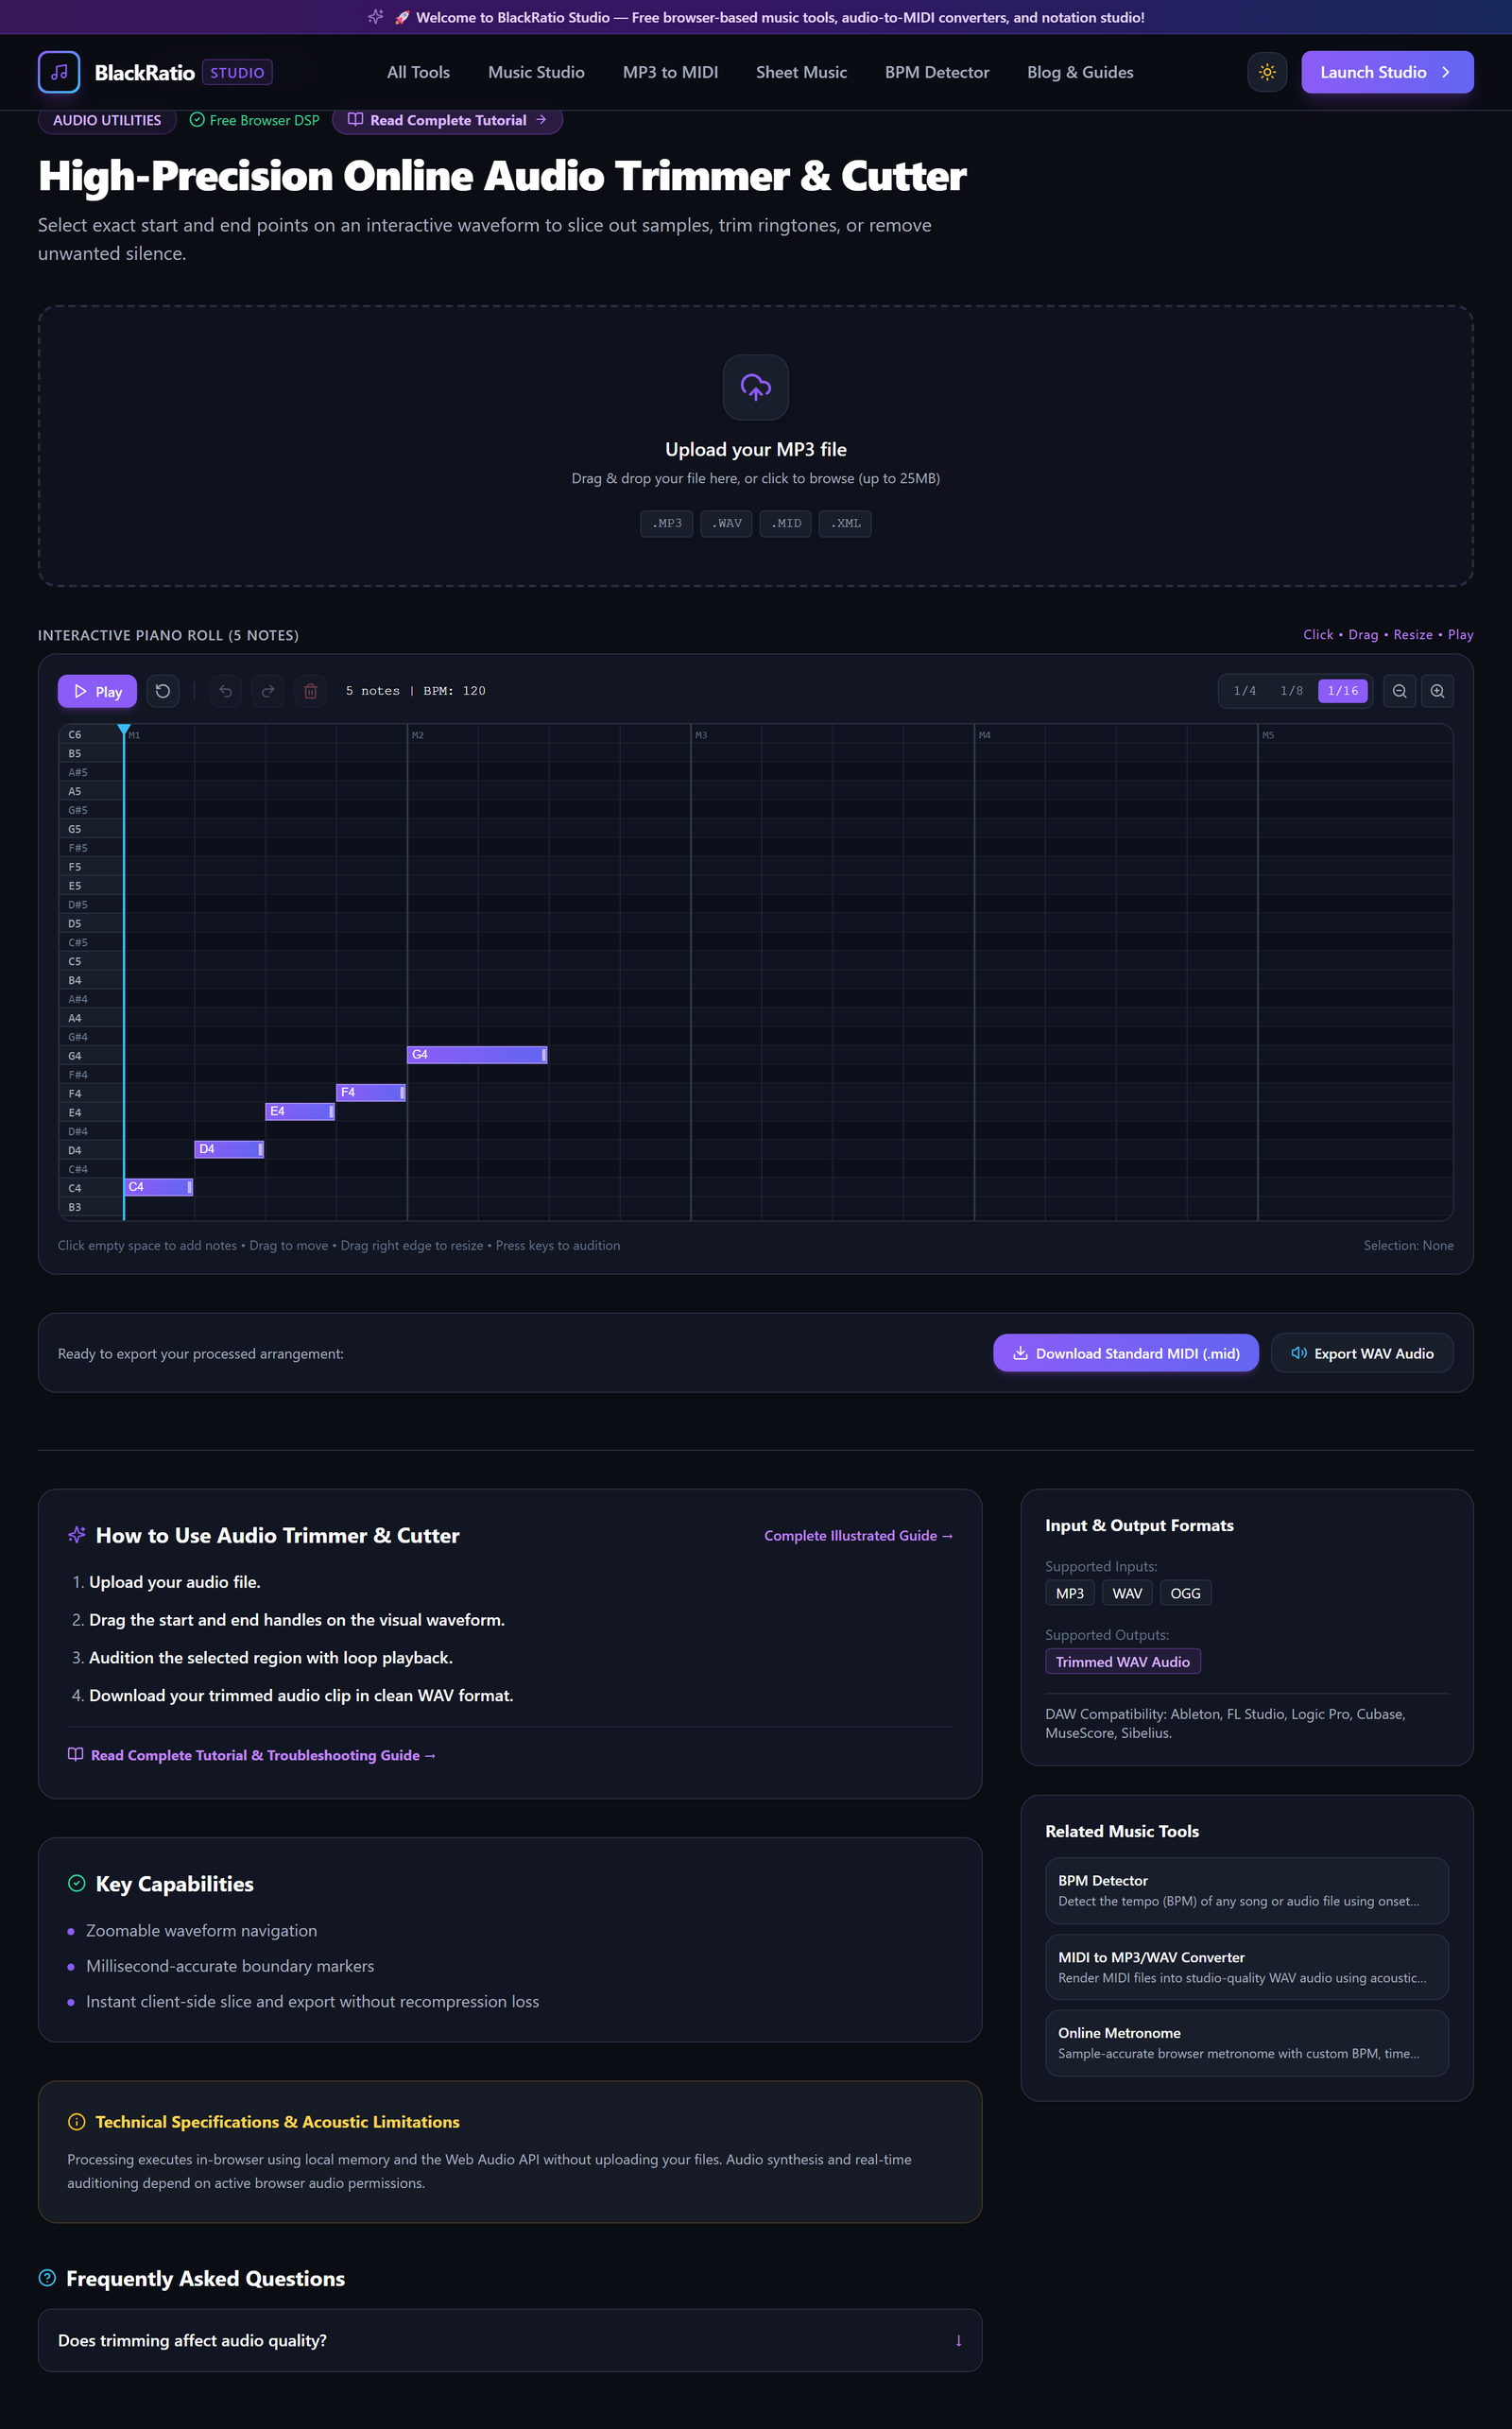
Figure 5: Export Lossless Trimmed Audio in the Audio Trimmer & Cutter workspace.
- Primary Control:
Download Trimmed Audio File Button - Expected Visible Result: The sliced audio segment downloads immediately without any server processing delays.
- Musician's Pro-Tip: Name your exported file descriptively (e.g.
Vocal_Hook_Take3_Trimmed.wav) to keep production folders organized.
Practical Real-World Example
Creating a Custom Smartphone Ringtone from a Favorite Song Guitar Solo
- Musical Workflow: A musician wanted a 30-second ringtone featuring their favorite guitar solo from an MP3 track. Uploading the track, they placed the start marker at 2:15.000 and the end marker at 2:45.000, added a 1-second fade-out, and exported as MP3.
- Verified Outcome: The trimmed ringtone was transferred to their phone, playing the exact guitar riff without needing to listen through the long intro.
How to Verify Your Results
- Play through the trimmed audio loop to ensure the start and end points cut cleanly without clicks.
- Verify that applied fade-in and fade-out curves eliminate abrupt transient pops.
- Check the exported audio file duration against your specified start and end timestamps.
- Verify that the exported file retains the original sample rate and bit depth.
Troubleshooting Common Issues
There is an audible click or tick at the very beginning of the trimmed audio.
- Underlying Cause: The start marker was placed at a non-zero waveform amplitude peak.
- Recommended Solution: Enable a fast 0.1-second (100ms) Fade In, or zoom in to place the start marker at a zero-crossing line.
Technical Boundaries & Limitations
Audio Trimmer processes files up to 100MB directly in browser memory. For full multi-track podcast mixing or automated silence removal across multi-hour files, a dedicated DAW is recommended.
Frequently Asked Questions
Q: Does trimming reduce audio quality? A: When exporting to WAV, trimming is 100% lossless with zero re-compression artifacts. When exporting to MP3, high-bitrate encoding (320kbps) ensures pristine fidelity.
Launch the Tool
Ready to begin? Access the free, browser-based Audio Trimmer & Cutter directly on BlackRatio Studio with zero downloads or account registration required.
Related Workflows & Tools
Related Tutorials & Articles
How to Transpose MIDI Files Online — Lossless Semitone Shift Guide
Transpose MIDI songs and melodies up or down by semitones losslessly while protecting drum channels, controllers, and velocities.
Tool TutorialsHow to Calculate Song BPM with Tap Tempo — Accurate Live Tempo Guide
Calculate the exact tempo of live songs, DJ tracks, and musical ideas by tapping to the rhythm with zero latency and statistical smoothing.